Personal
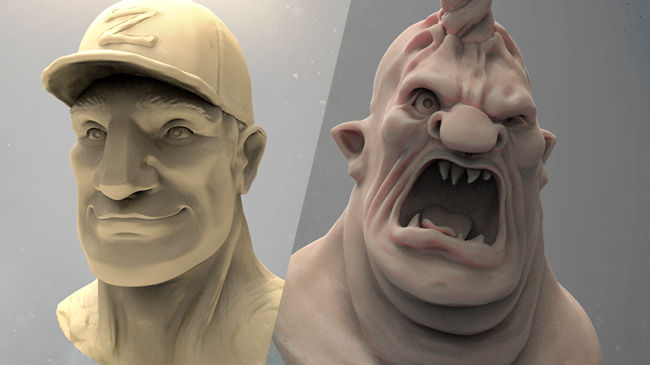
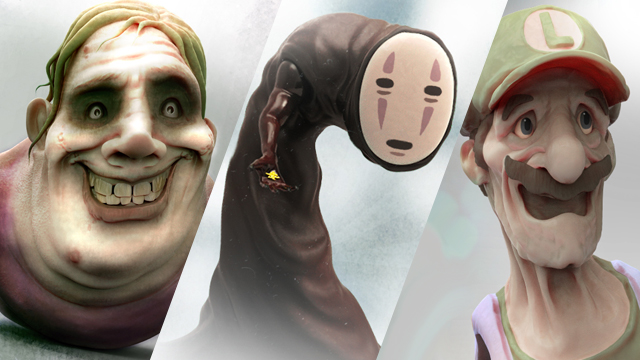
I took a week off from sculpting and decided to do some speed sessions today as I warm back up. I took a more stylized approach to these two characters and had a lot of fun with it. The friendly baseball player was just a generic warmup, but the ‘Unicorn Ogre’ was created as part of the Daily Spit Sculpt’s (a sculpting group on Facebook) daily theme. Each of these sculpts took about 50 minutes. Thanks for checking them out!
Stepping back on this Modeling Minute to review poles, recognizing them on our primitives, and working with alternatives while sculpting.
A new Modeling Minute tutorial on the process of “shrink-wrapping” one mesh to another.
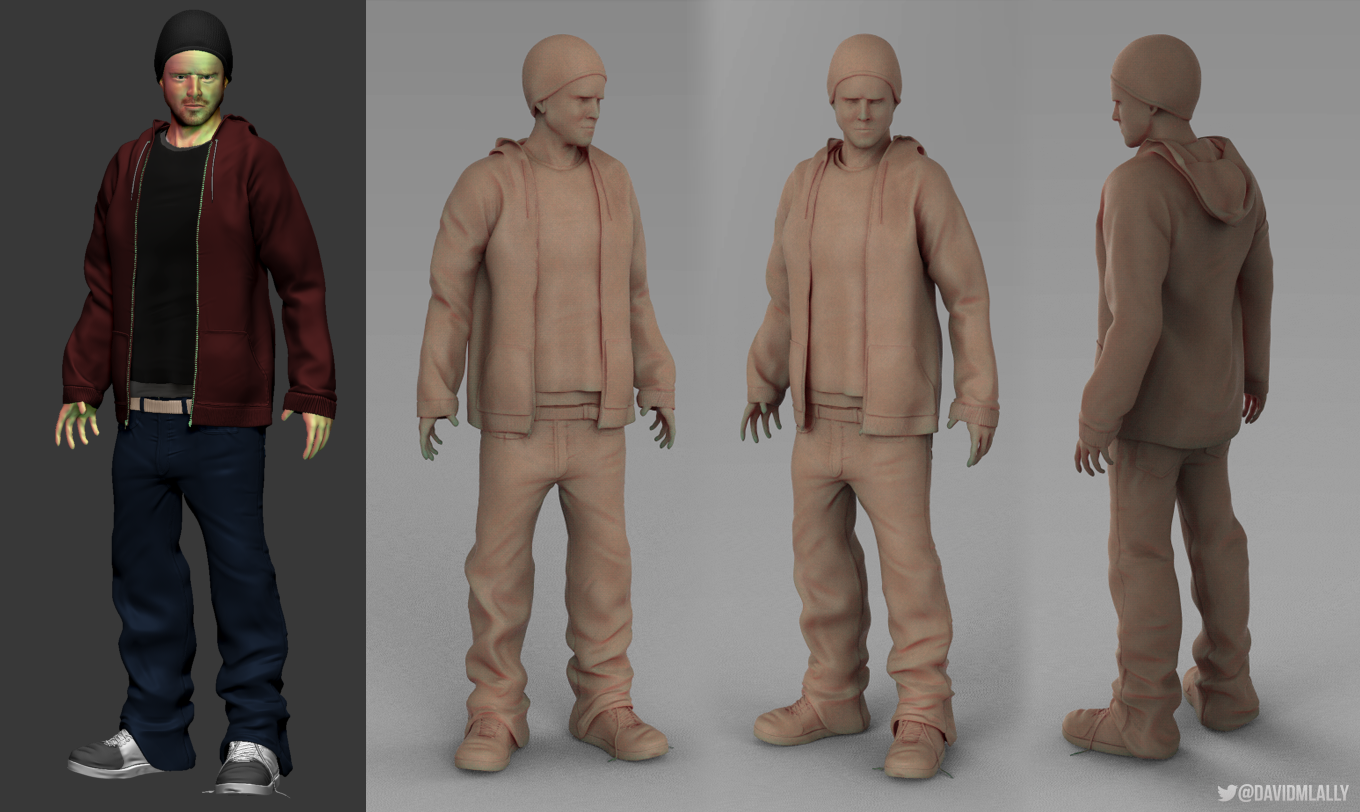
I’ve put a little more time into my Jesse Pinkman piece, fleshing out a body and some base clothing that I can sculpt with. The body is an average/skinny build for Jesse, and similar to my ‘Wanderer’ project, I’ve dynameshed and remeshed this body to act as a collision mesh in Marvelous Designer. In MD, I setup a few base patterns for a long sleeve shirt, t-shirt, and jeans, tailored for Jesse. I’ve exported these into ZBrush where I’ll sculpt the details soon. I’d love to add a hoodie to this character, and am currently IP on the model for the sneakers. Thanks for taking a look!
New Modeling Minute: Splintered Wood. A friend shared this handy little tip with me recently. After seeing all of the splintered wood while on the Indiana Jones ride at Disneyland, I decided to finally do a Mod Min on it! 🙂
Only one new Modeling Minute this week, but there’s a bit of extra at the end! Thanks for watching.
Two new Modeling Minute videos for the 3D artists out there! Enjoy, and thanks for watching.
I’ve had an itch to make some more tutorials recently and have been considering a more unified format for them. Since we live in an age of immediate gratification, I’m attempting to create some modeling tutorials that give quick tips in 60 seconds or less. They’re super low commitment to watch so hopefully modelers have time to check them out as I post them to Twitter, etc. I’m planning on covering some basics first, then I might get into some more advanced topics. Here’s the first set:
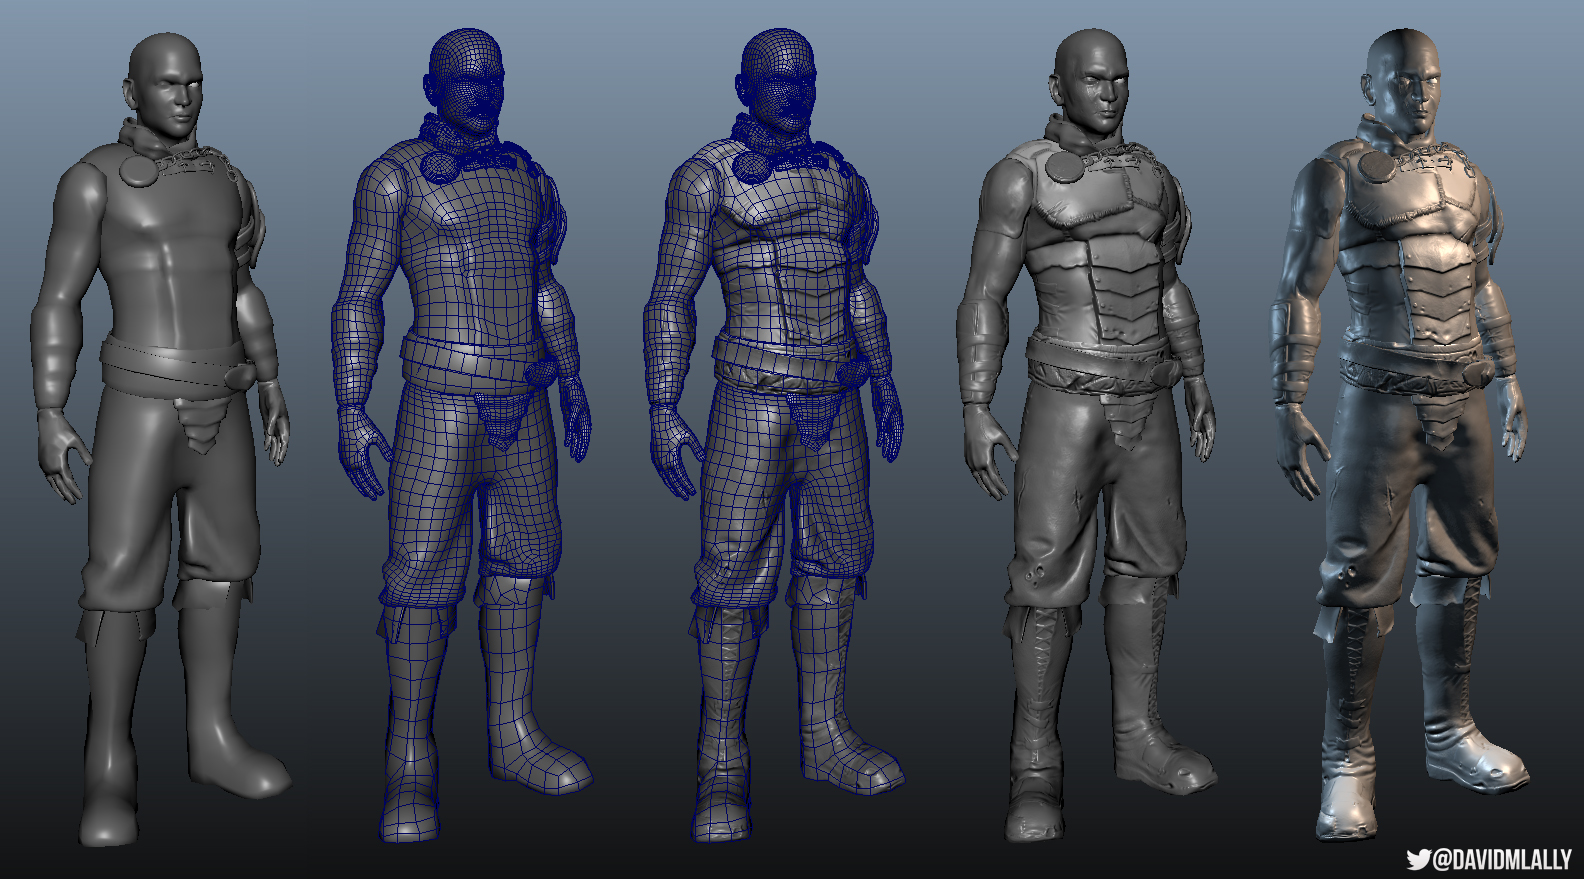
I’ve reached the end of my free time set aside for this character, and I’m generally happy with the results. I’m calling this one complete, though there are some great notes received from various forums that I’ll be keeping in mind for my next projects. Let’s take a look at the final steps from my last blog post here.

Brett Warne asked me to help him out with a small side project he had taken on: to 3d print a cake topper for his friend’s wedding! Read More
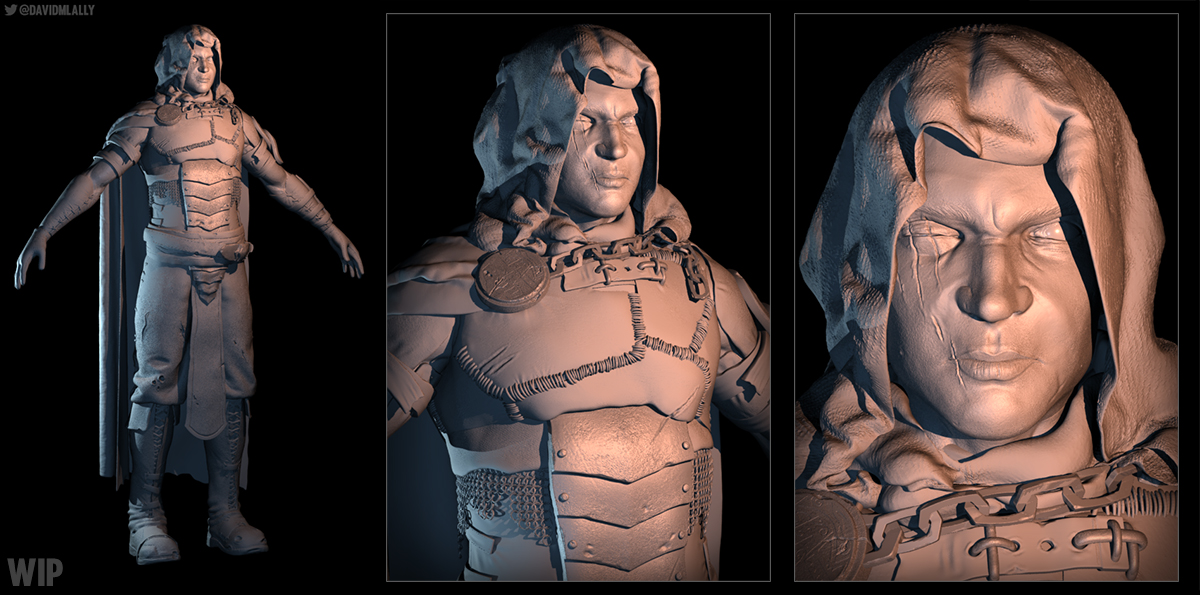
Some time ago I had started working on a fantasy character design. I was learning ZBrush during that time and wasn’t as familiar with the tools as I am now. I decided to revisit that design and give it a complete overhaul, incorporating some other ideas that I’ve had into it. It’s still a work in progress, but here’s where I’m at. Read More
The anatomy studies continue with more male torso speed sculpts. I’m starting out rather ‘beefy’ while I get reacquainted with the muscle groups, but eventually I’d like my baseline to be something more average. Read More
This is an overview of a workflow that one might use to setup tailoring patterns inside of Marvelous Designer, which are then remeshed inside of Zbrush, with high-res details baked into cleaner, lower resolution geometry back in Maya.
This one is less of a tutorial and more of a general overview of how one might use Fibermesh inside of ZBrush and export those curves back into Maya for sim setup and rendering.

